Living in Plymouth, Minnesota means dealing with weather extremes cold winters, freeze thaw cycles, and plenty of moisture throughout the year. These conditions are tough on concrete driveways, often leading to cracks that, if left unattended, can expand and cause significant structural issues. Fortunately, repairing cracks in your driveway doesn’t always require professional help. With the right tools, materials, and a little patience, you can fix the problem yourself and extend the life of your driveway.
Here’s a detailed, step by step guide to repairing cracks in a concrete driveway specifically tailored for homeowners in Plymouth, Minnesota.
Why Do Concrete Driveways Crack in Plymouth?
Concrete is strong, but it’s not impervious to weather, ground movement, or time. In Plymouth, the main culprit behind driveway cracks is the constant freeze thaw cycle. Water gets into small pores and cracks, freezes during cold nights, and expands forcing the crack wider each time. Add road salt, heavy snow, and vehicles into the mix, and small issues can quickly become larger, more expensive problems.
That’s why addressing even minor cracks early is crucial. You’ll prevent them from expanding and save yourself the cost and hassle of major paver repairs or full replacement down the road.

Step 1: Clean and Prepare the Crack
Before applying any filler, it’s essential to prepare the crack. This step is often overlooked, but it’s key to ensuring the filler bonds well and lasts through Minnesota’s rough seasons.
Use a wire brush or a stiff bristle brush to scrub the crack thoroughly, dislodging any loose debris, dirt, and remnants of old filler. If the crack is narrow, a flat head screwdriver or even a utility knife can help dig out stubborn material. For wider cracks, a cold chisel and hammer may be necessary to widen the crack slightly and create a V shape. This shape helps the filler stay in place and adhere better.
Once you’ve cleared the crack, use a vacuum or a leaf blower to remove all debris and dust. The crack must be dry before you apply any product, so allow some time for drying if the area is damp or has recently been washed.
Step 2: Choose the Right Filler for Minnesota’s Climate
Not all crack fillers are created equal, especially when dealing with the climate extremes in Plymouth. You need a product that’s flexible enough to move with your driveway as temperatures change. Look for a crack filler or sealant labeled for “cold climates” or “freeze thaw conditions.”
For small concrete cracks (less than 1/8 inch), a concrete patching compound mixed with a latex additive works well. These compounds offer a little flexibility and can be easily smoothed over the surface.
For wider cracks, polyurethane sealants or concrete crack fillers in caulking tubes are the better choice. These materials remain flexible and resist moisture penetration. Polyurethane sealants are especially good at expanding and contracting with seasonal changes, which is exactly what you need in a Minnesota driveway.
Step 3: Fill the Crack
Once the crack is clean and dry, it’s time to apply the filler.
If you’re using a patching compound, apply it with a putty knife, pressing it into the crack and smoothing it flush with the surrounding surface. Work quickly these compounds begin to set fast.
If you’re using a caulk style filler or polyurethane sealant, load the tube into a caulk gun and slowly apply the product, ensuring it penetrates deeply into the crack. Squeeze evenly and avoid overfilling. For best results, work in small sections and build up the filler if needed.
For very deep cracks, you should insert a foam backer rod before applying the sealant. This prevents the filler from sinking and cracking under pressure and temperature changes.
Step 4: Smooth and Blend the Surface
After applying the filler, use a putty knife or trowel to smooth the surface. Try to match the height of the filler with the surrounding concrete so the repair blends seamlessly. This not only improves the appearance but also prevents water from pooling in low spots.
If you’re using a polyurethane sealant and want to reduce shine or improve traction, you can sprinkle a light layer of sand on the surface before it dries. The sand will also help the paver repair blend more naturally with the rest of the driveway.
Step 5: Allow Time to Cure
This part is all about patience. Let the filler cure according to the manufacturer’s directions this may range from a few hours to a few days. Avoid driving or walking over the repaired area until it’s fully set. Premature traffic could damage the filler before it hardens properly.
In Minnesota’s cooler months, curing might take longer, especially if temperatures drop suddenly at night. Be sure to check the weather forecast before starting the project and choose a few consecutive days of mild, dry weather.
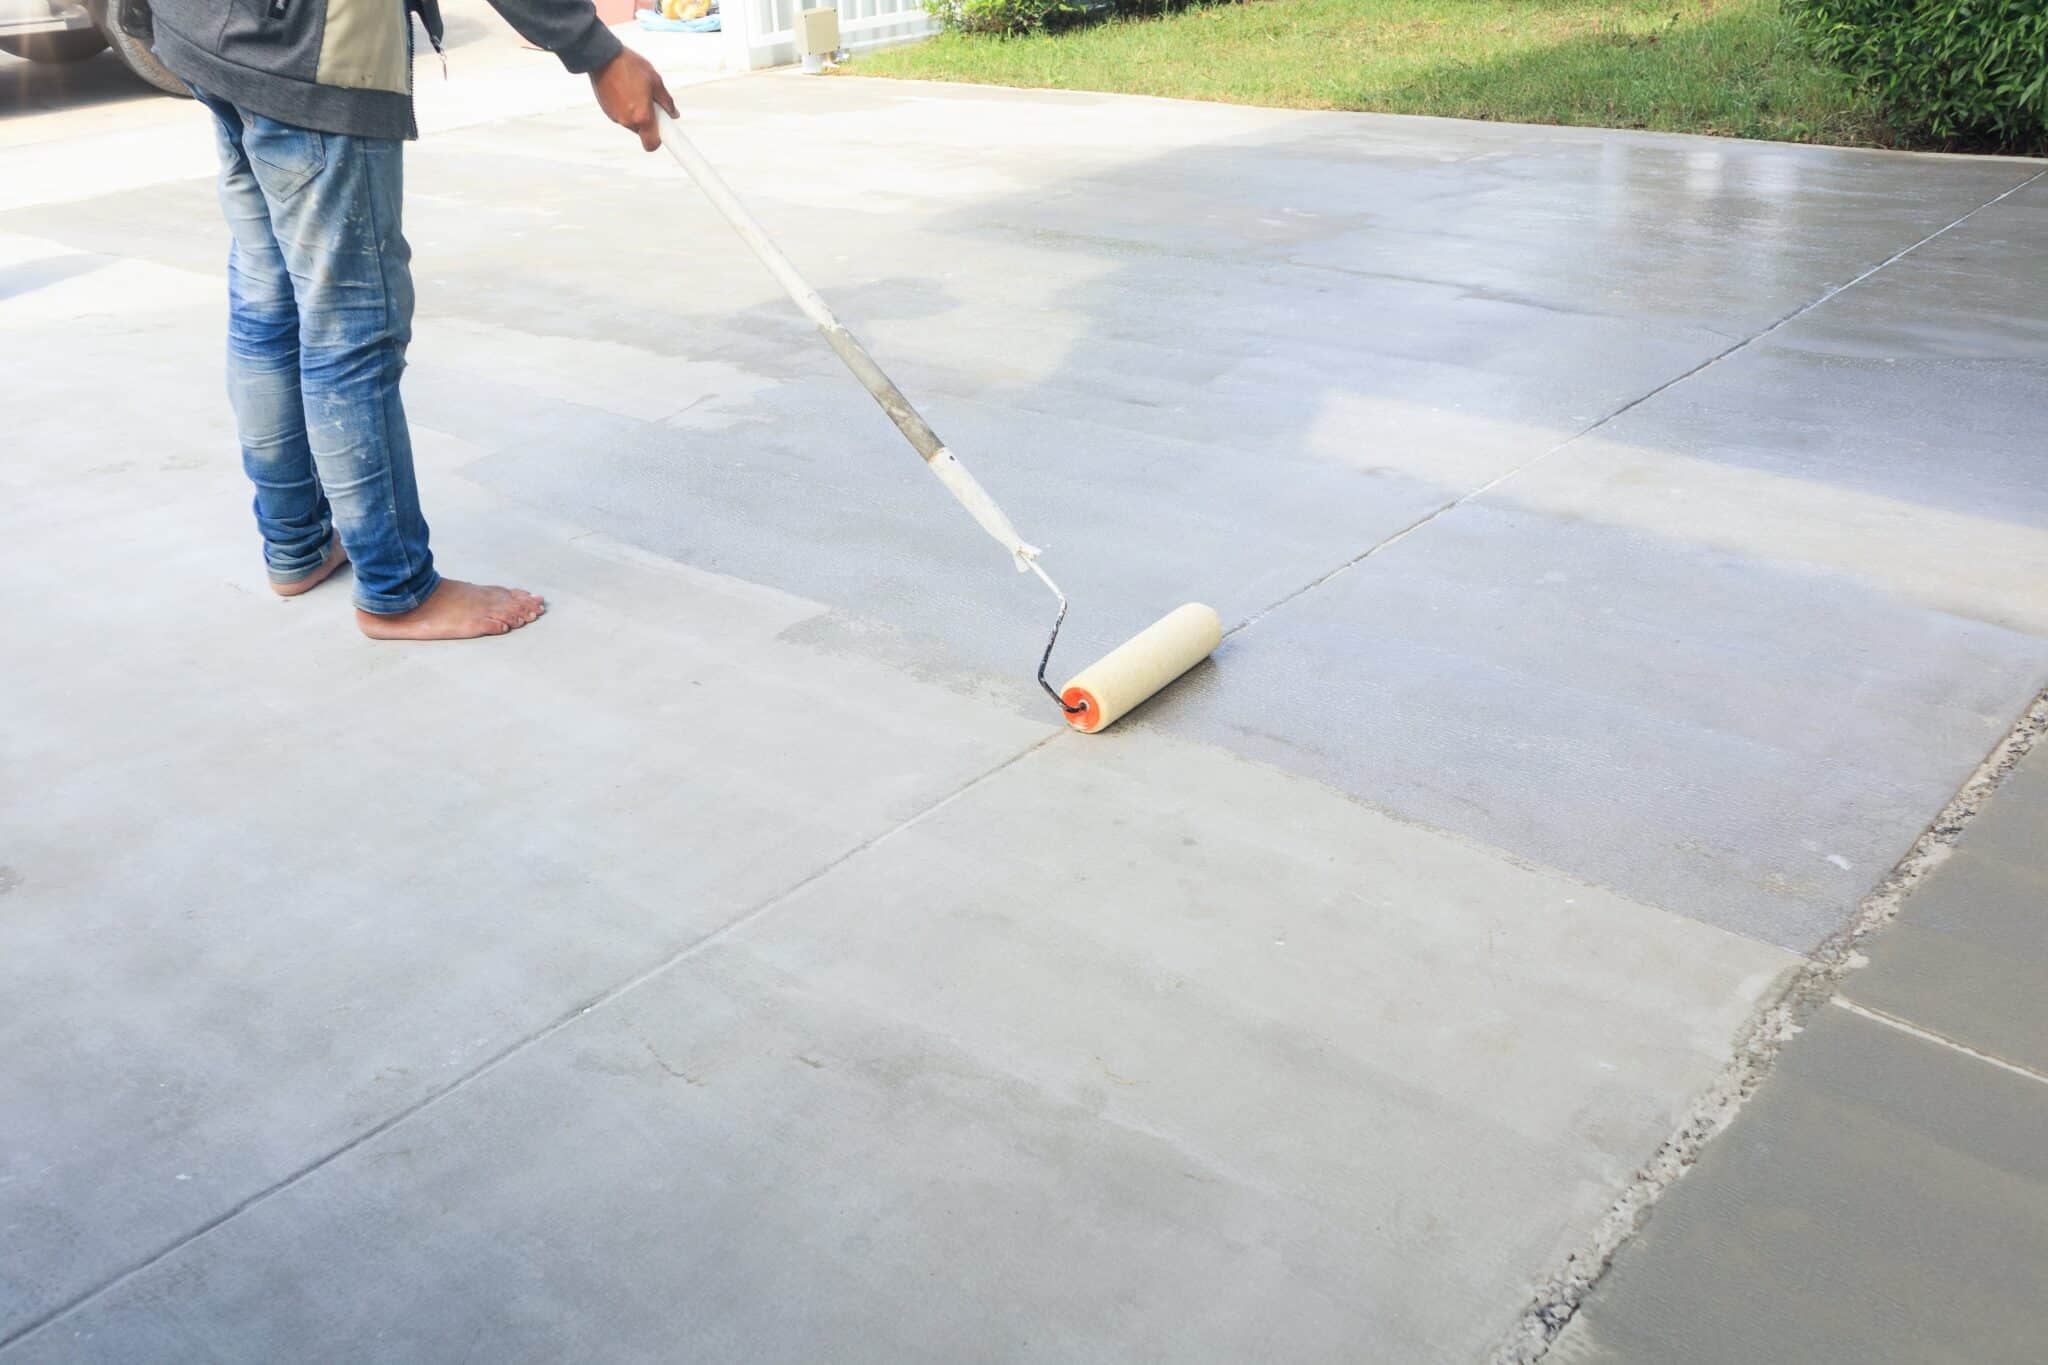
Step 6: Seal the Driveway for Added Protection
Once all cracks are filled and cured, consider applying a concrete sealer over the entire driveway. This added layer of protection helps prevent moisture infiltration, minimizes surface wear, and reduces future cracking. In a climate like Plymouth’s, sealing every few years is one of the best investments you can make in extending your driveway’s lifespan.
Choose a sealer rated for exterior use and formulated for freeze thaw resistance. Apply it using a roller or sprayer and follow the manufacturer’s instructions for drying and recoating.
When to Consider More Than Crack Repair
If your driveway has multiple long or deep cracks, large sections of crumbling concrete, or widespread surface damage, patching individual cracks may not be enough. In such cases, resurfacing the entire driveway or even replacing it could be more cost effective in the long term.
Still, for isolated cracks and routine maintenance, the steps outlined above are typically sufficient to restore your driveway and protect it from further damage.
Don’t Wait Fix That Crack Today!
Cracks in your concrete driveway won’t fix themselves. In fact, they’ll likely grow worse with every freeze thaw cycle we see here in Plymouth. By taking the time to repair them now, you can avoid more serious problems and expenses later on.
Need help choosing the right materials or just don’t have the time to do it yourself? Let the experts in Patriot Exterior Solutions help! Contact Patriot Exterior Solutions today for a free consultation and get your driveway back in top shape before the next big freeze.